Your cart is currently empty!
How to Build a Shield (Part 1)
Shield making has been a craft for thousands of years. It would be a rare sight indeed to see any ancient army of warriors without any shields with which to protect themselves. Oftentimes a shield was the only form of armor a person could afford to have. It wasn’t until the later inventions of heavy plate armor that shields became less common on the battlefield. Nevertheless, shields have recently made a comeback in popularity among members of the HEMA community and reenactors.
Round shields such as Viking shields and bucklers are among my favorites. A lot of customers have asked me how my shields are constructed, so I hope this brief tutorial sheds some light on them.
First I take out all the materials and tools needed. A jigsaw, 1/4in plywood, a string, nail, and a marker are all that is needed for this step.
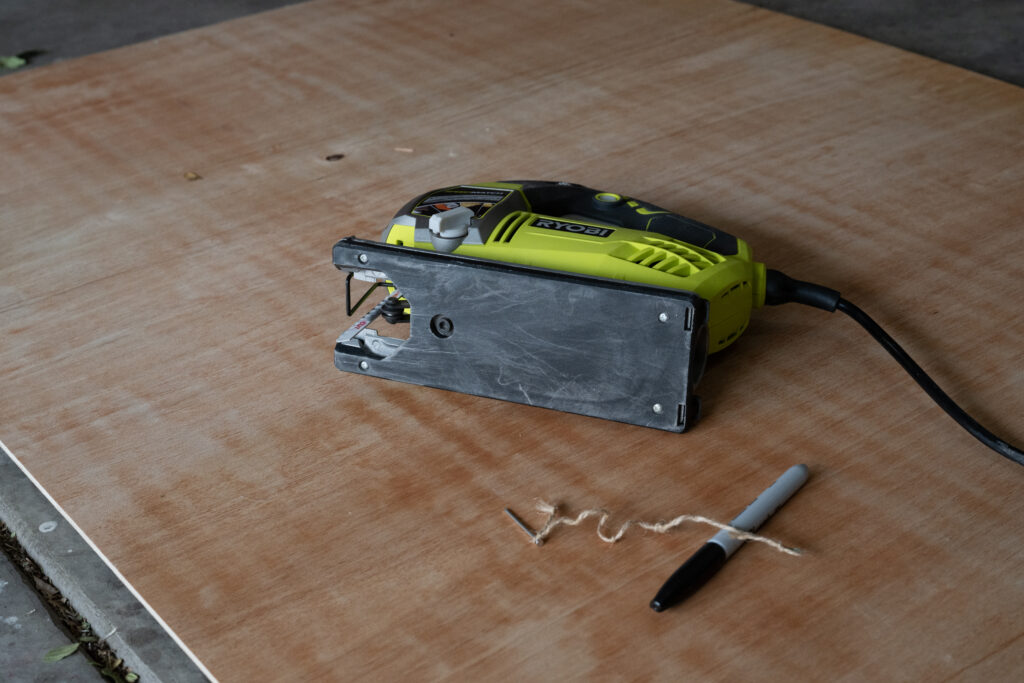
The next step is selecting the desired diameter of the shield. For bucklers, most of my customers prefer ones that are 15 inches in diameter. This is where the nail and string comes in. Begin by making a cut of string and knotting it up until it measures a little less than half of the desired diameter of the shield. I say a little less than half because the rim later on will push the overall diameter to meet the desired 15 inches.
Tie this length of string to a nail and make a loop on the other end in which your marker will go through. Then hammer it into the center of the board and begin to trace a circle around the center
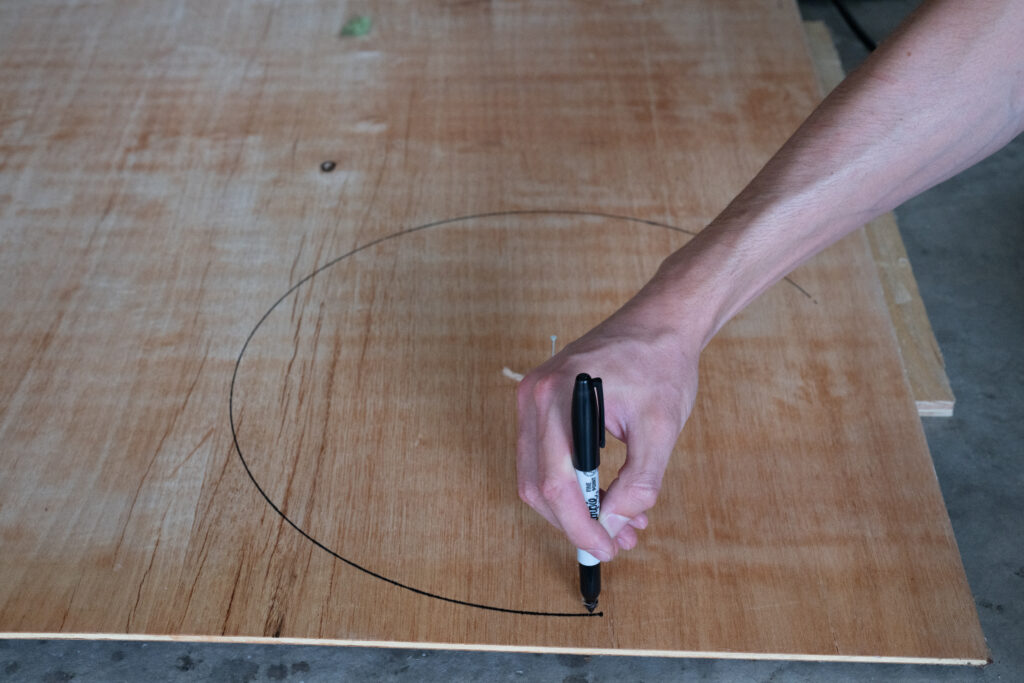
This will get you a perfect circle!
Next is the cutting, and is where the jigsaw comes in. It’s important to go slow during this step. Any mistakes may ruin the shield!
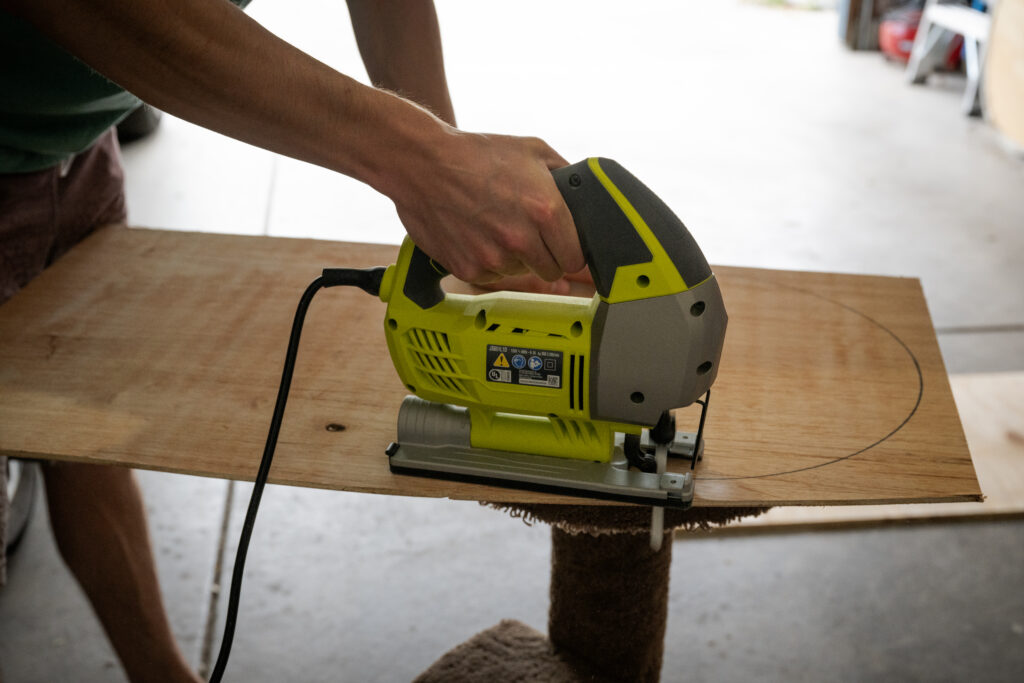
Don’t put away the jigsaw once this is done though! You still need that for the next step.
This next part can be done before the cutting, but in this case I will demonstrate it after the main circle has been cut. You will need another length of string, but this one will be even smaller than the last. Using the same process of before, cut a length of string to be half of the diameter of the interior of your desired shield boss. The interior diameter of shield bosses that customers most often request is 5 inches, so this length of string will need to be 2.5 inches. It doesn’t need to be completely exact, but rather just big enough for your fist. Tie loops into the string on both ends again and place the nail with the string looped on it through the same hole as last time, and begin tracing a smaller circle.
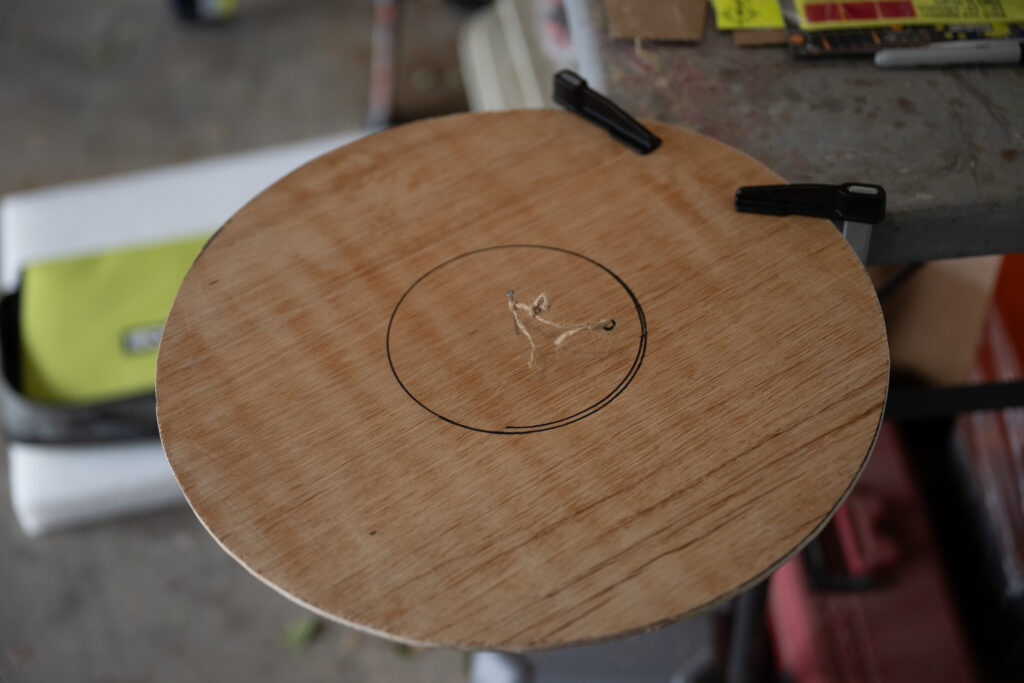
A power drill will be needed next in order to make a couple holes on the newly created outline so that the jigsaw blade can go through to the other side.
Once this is done, carefully cut out the interior hole along the outline with the jigsaw. The sharp turns are a little tricky, so be careful.
The hard part is basically done! The next order of business it to get out some wood glue and gloves, because this is gonna get messy!
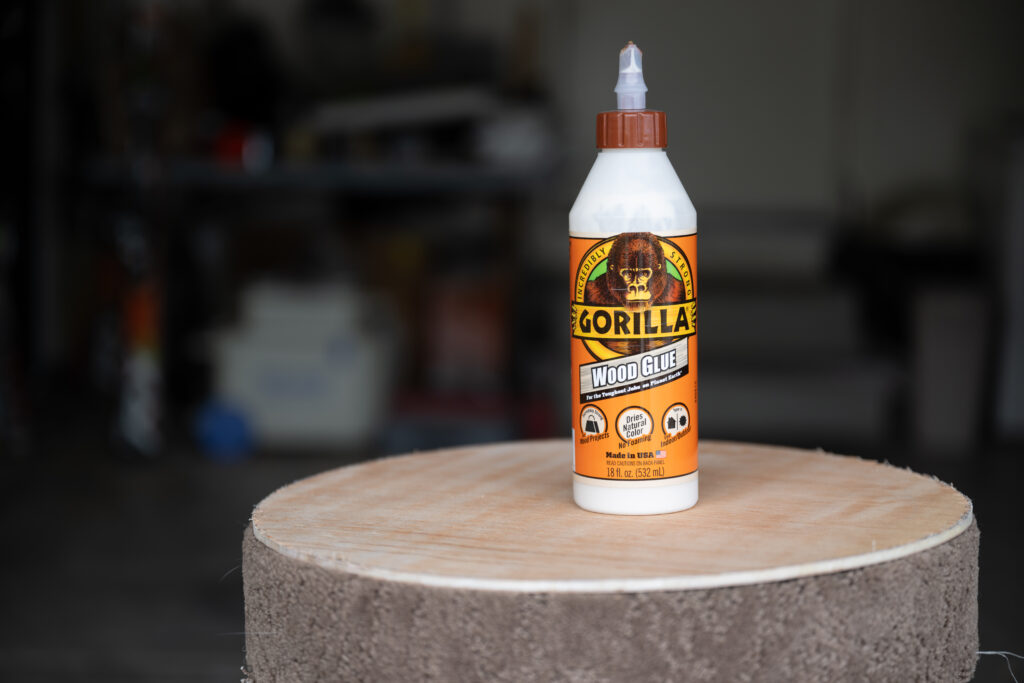
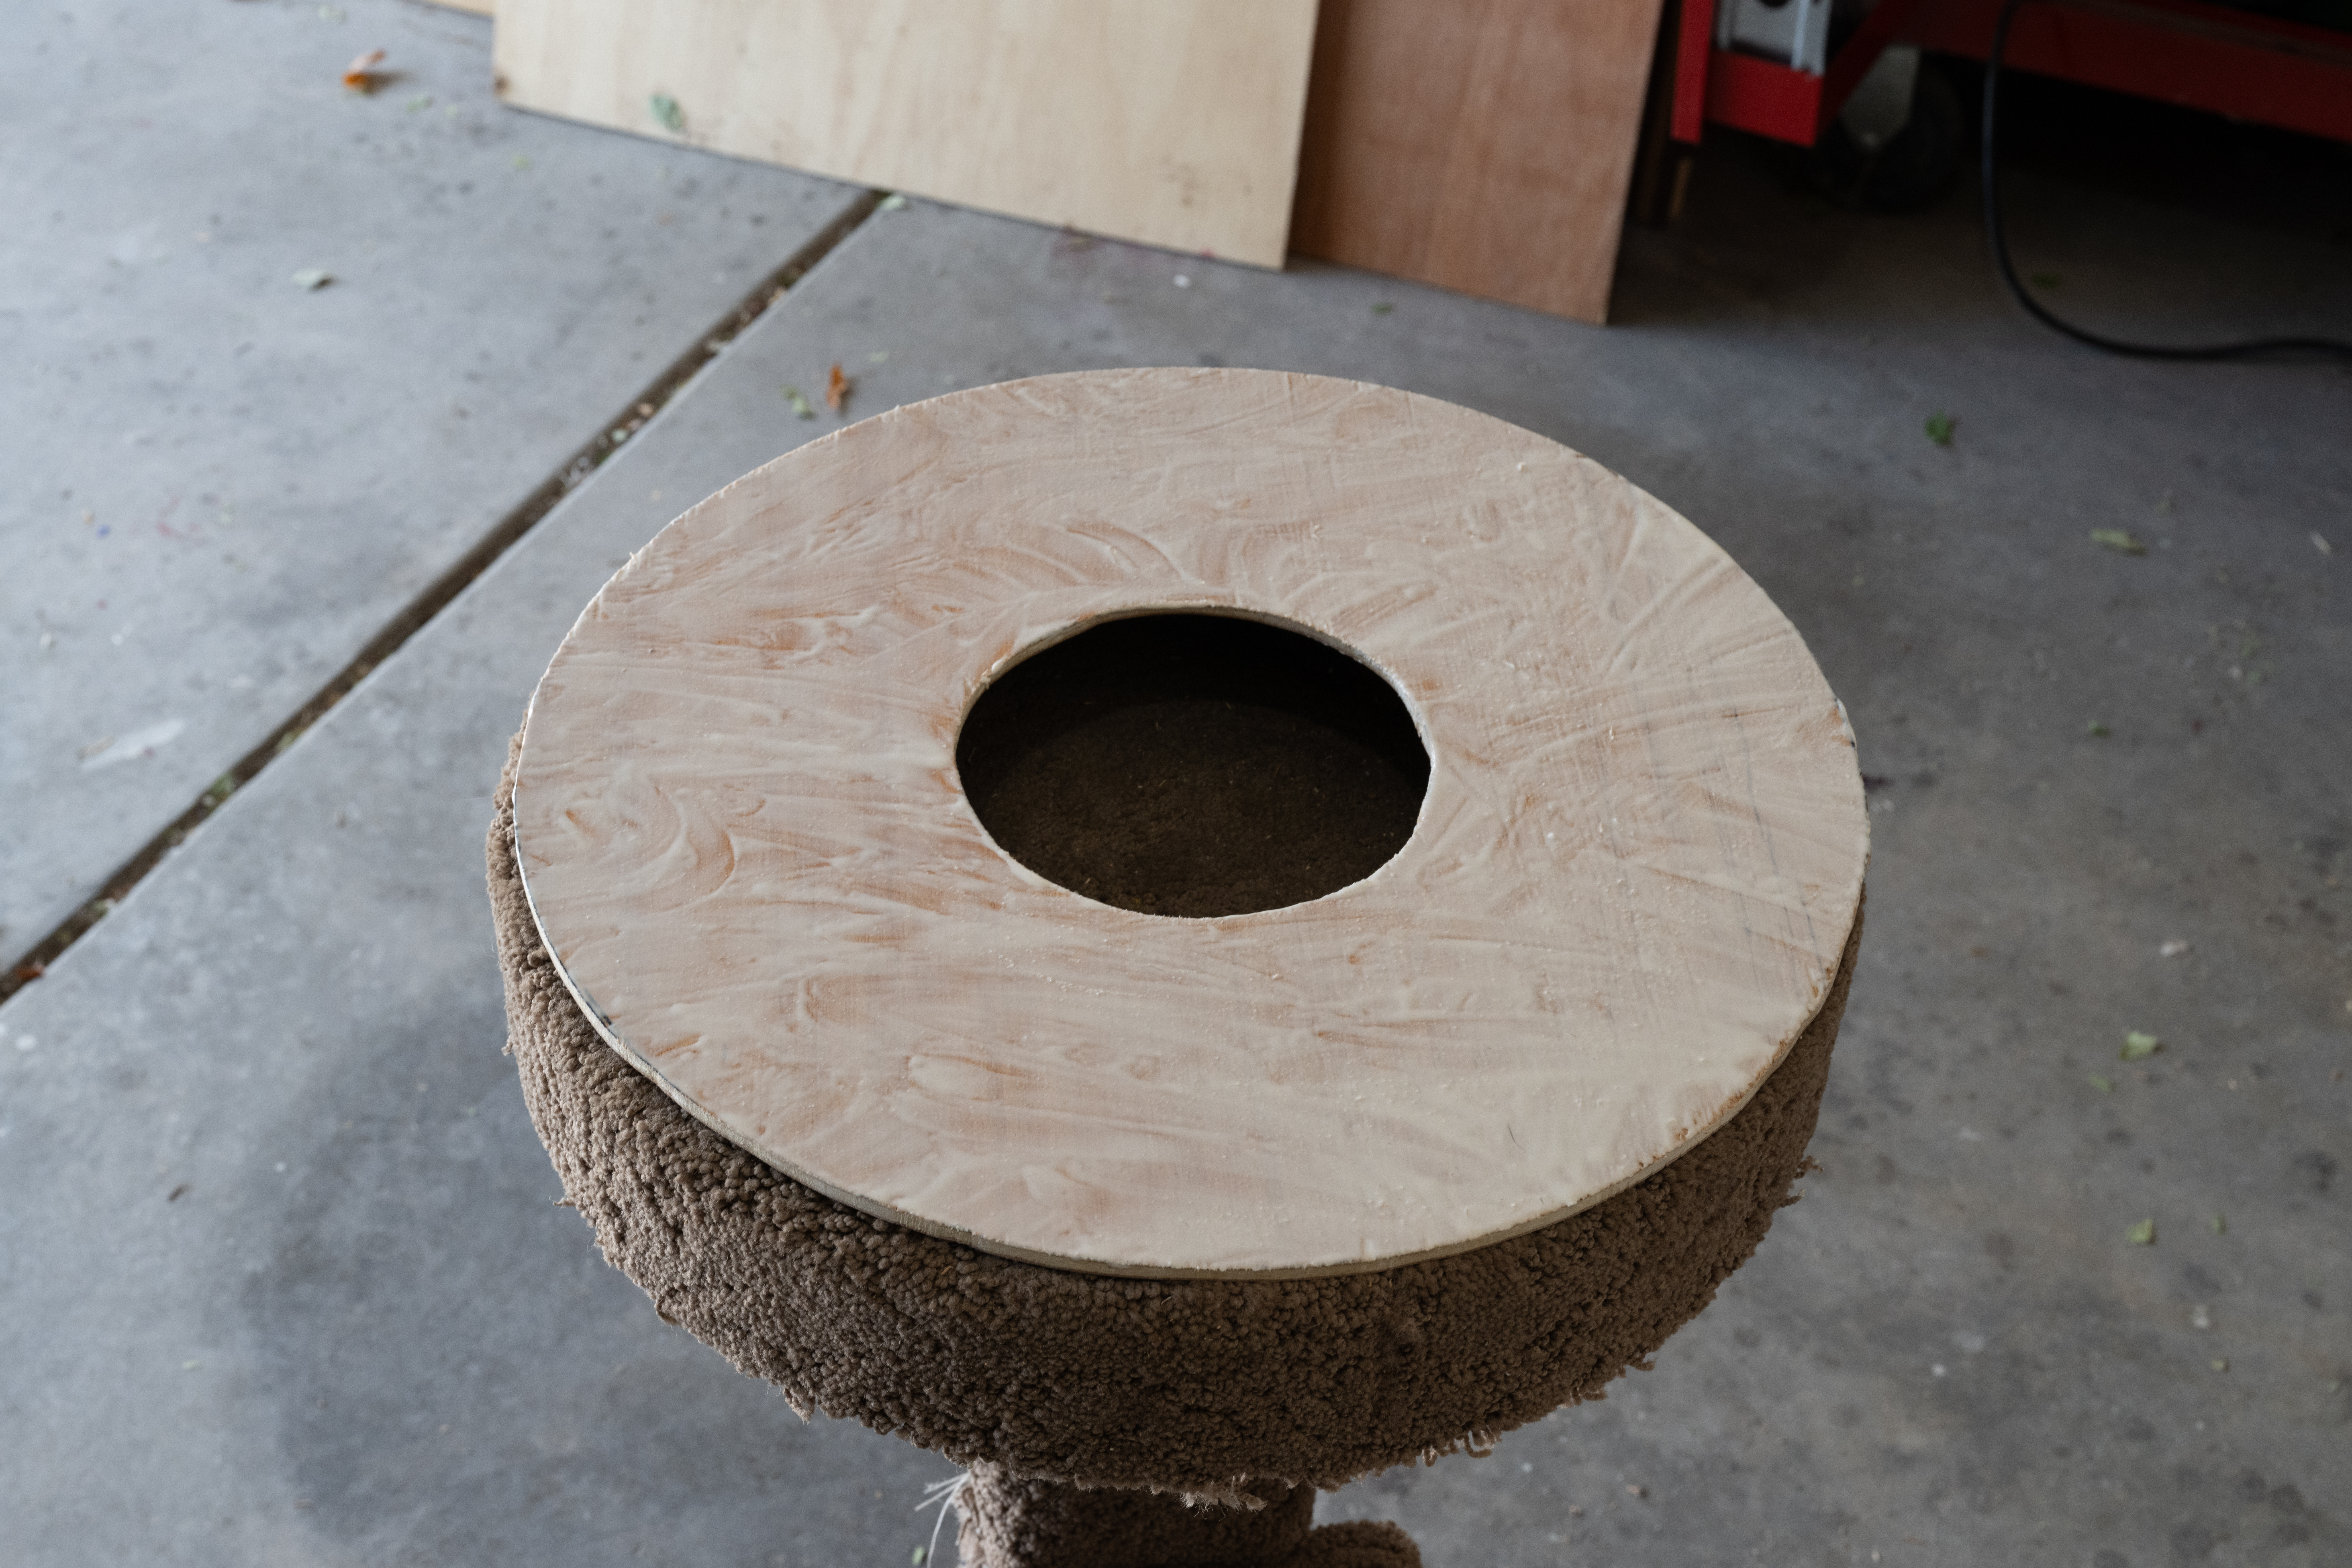
Before you goo your shield up with glue, remember to get out canvas cloth of your desired color and have a square of it wide enough to cover the shield at the ready. Set it aside, get some gloves on, and begin spreading an even coat of glue over the entire face of the shield. Don’t be afraid to gob it on there, and remember thoroughly cover the edges with it as well. The end result should look something like this:
Be fast now, because before it dries you will want to spread the canvas over the sticky shield face as tightly as possible. A second person can be helpful for stretching it over evenly. Once it is on, use your hands to press and spread the cloth onto the shield in an outward motion from the center. DO NOT PRESS THE CLOTH TOWARDS THE CENTER!.
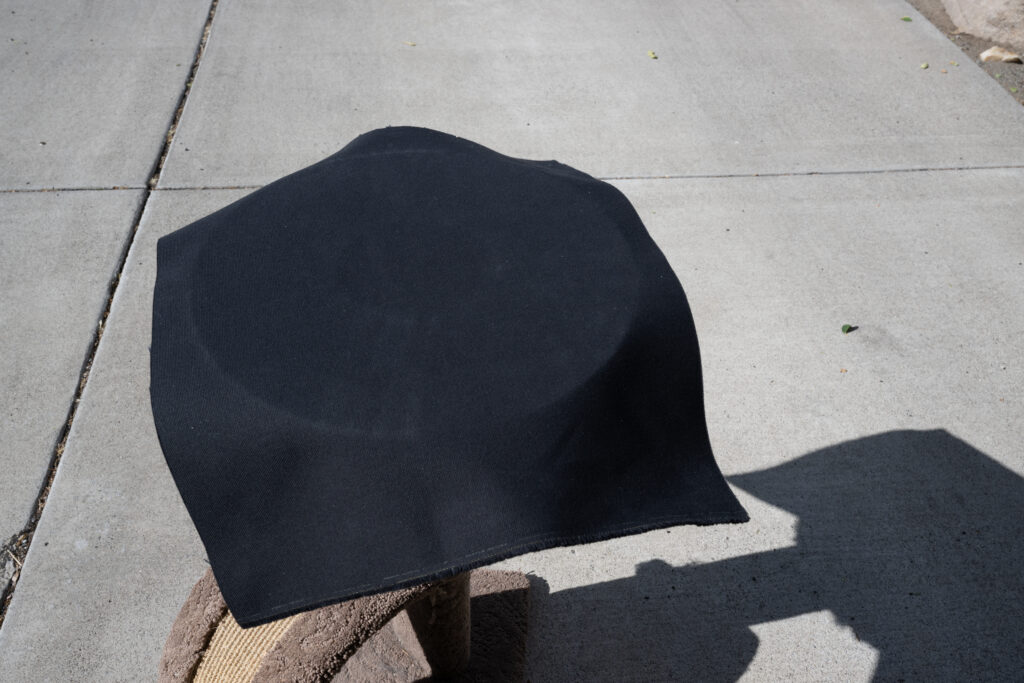
The end result should look like this.
At this point you can take a mandatory break. Set the shield aside and let the canvas dry onto the board. The next step involves making the rim and assembling the rest of the shield, which will be covered in part two!
